


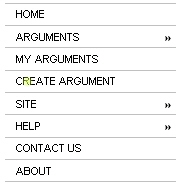
To create an Argument, click the "Create Argument" option on the menu. Note that you must be logged into the Honest Argument site, or you will not even see the "Create Argument" option on the menu.
You will be presented with the "Create Argument" form where you will enter the information for the Argument Thesis. In this case we will argue that "Dogs are better pets than cats."
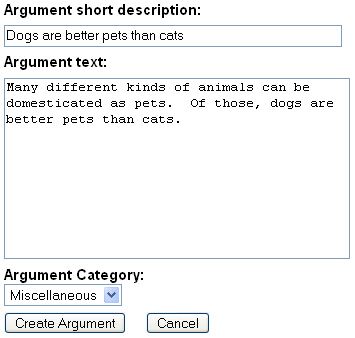
When you have entered all of your information, click the "Create Argument" button.
You are presented with the beginning of the Argument Diagram, so far containing just the Thesis node. Click on the Thesis node.

Here we see all of the relevant information for the Thesis node, as well as options to edit the node, or to add a node.
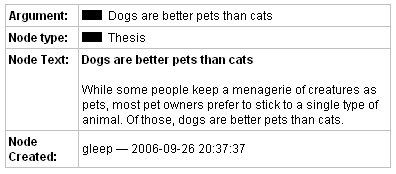
Click the "Add node" link.
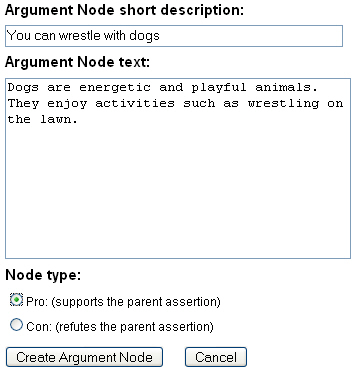
Here we see a screen very similar to the "Create Argument" screen in Step 1. We will use this screen to add a Supporting Assertion.
Click the "Create Argument Node" button to store the node information, and then click the "Return to argument" link as you did in Step 1.
We now see an Argument Tree Diagram with two nodes - the Thesis node and one Supporting Assertion node.

Now we will add a Refuting Assertion. The only difference between what we do here, and what we did in Step 3 is that we select "Con" for the node type.
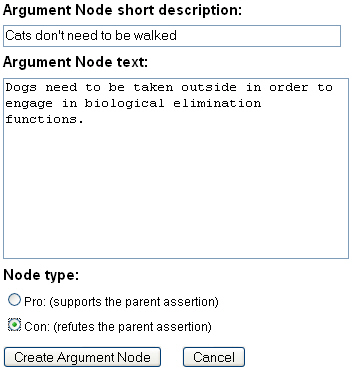
Again, click the "Create Argument Node" button, and then click on the "Return to argument" link.

Now we see an Argument Diagram with a Thesis and two child assertions - the Supporting Assertion from Step 3 and the Refuting Assertion from this step.
Now we will add a node to one of the child assertions.
We now see our newly created Assertion in the third column.

After we have finished adding Assertions, we click the "Release Argument to Pending Arguments queue" link. Now anyone can see the Argument when they click the "Pending Arguments" link on the menu.
